How to install a double handle bathroom faucet?
Installing a double-handle bathroom faucet is a manageable DIY project when you work methodically and check for leaks as you go. The exact steps vary slightly for deck-mounted faucets (on the sink or countertop) versus wall-mounted sets, but the plumbing basics are the same: shut off water, secure the faucet body and handles, connect supply lines, then test.
1) Gather tools and prep the area
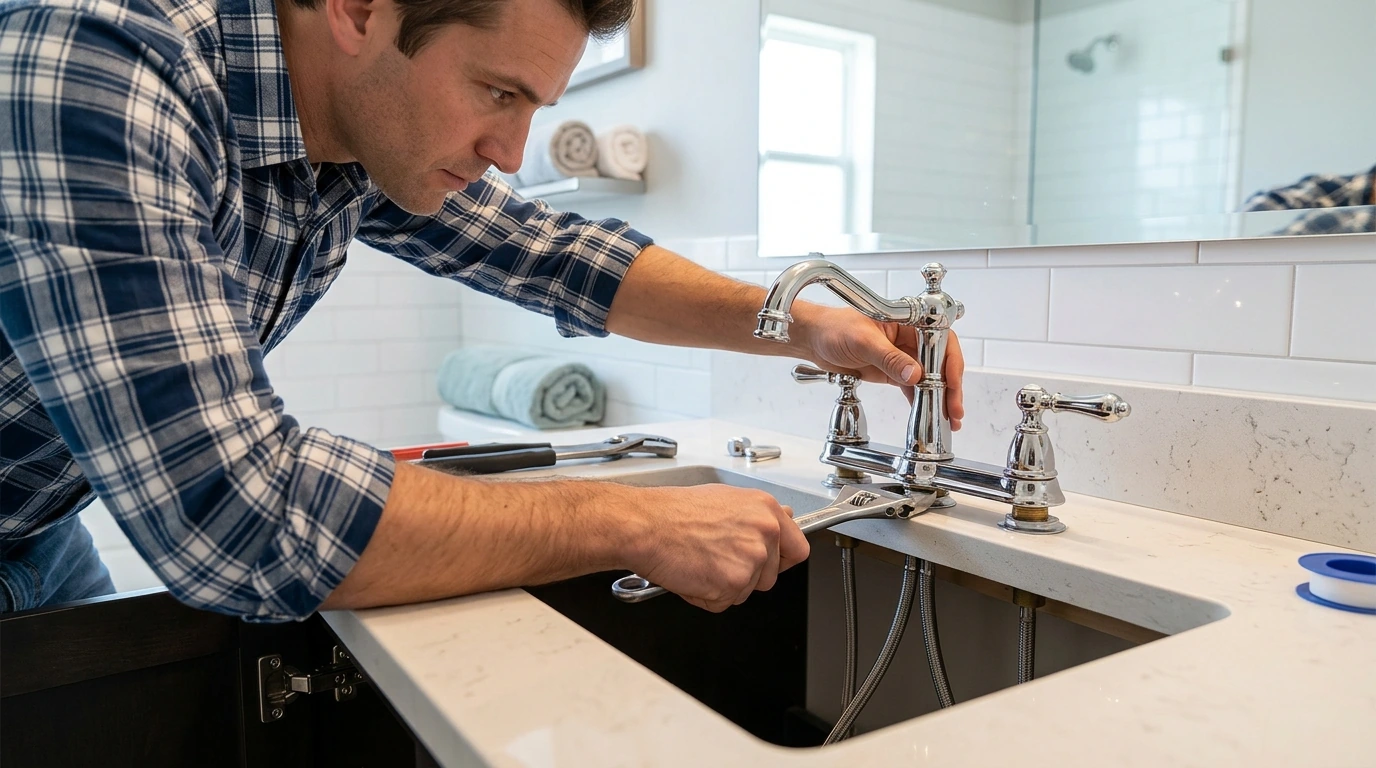
You’ll typically need an adjustable wrench, basin wrench (for tight spaces), plumber’s tape (PTFE), a bucket, towels, and a flashlight. Clear out the vanity, place towels under the valves, and keep a bucket ready for drips.
2) Shut off water and relieve pressure
Close the hot and cold shutoff valves under the sink (turn clockwise). Open the faucet handles to relieve pressure and confirm the water is off. If you don’t have local shutoffs, turn off the home’s main water supply.
3) Remove the old faucet (if replacing)
Disconnect the hot and cold supply lines from the shutoff valves. From below the sink, loosen the mounting nuts and lift the old faucet out. Clean off old sealant, grime, and mineral buildup so the new faucet can sit flat.
4) Install the new faucet body and handles
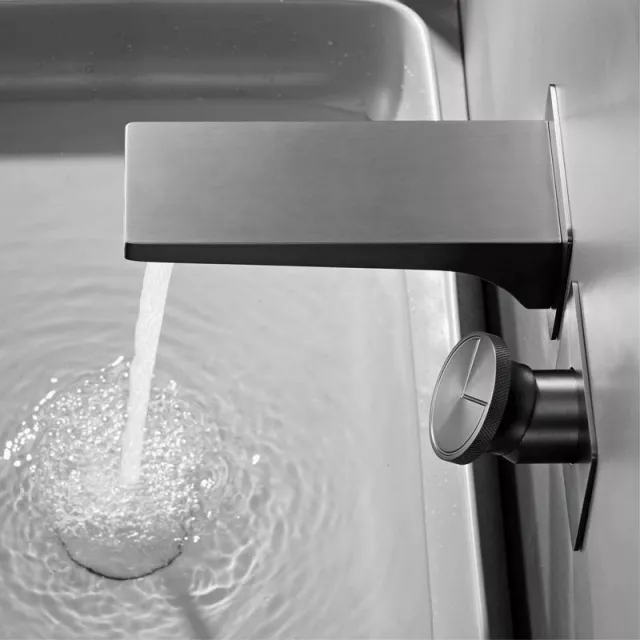
For deck-mounted models, set the faucet/handles into the sink holes with the gasket or seal as directed by the manufacturer, then tighten mounting hardware evenly from below. For wall-mounted double-handle sets, confirm the rough-in spacing matches your faucet, then mount and secure the valves/trim according to the included template and instructions.
5) Connect the plumbing
Wrap threaded connections with PTFE tape if the instructions call for it. Attach the hot and cold supply lines to the corresponding inlets, then connect the other ends to the shutoff valves. Hand-tighten first, then snug with a wrench—avoid over-tightening to prevent damaging fittings.
6) Test for leaks and finish
Slowly reopen the shutoff valves and watch every connection. Run hot and cold water for a minute, checking under the sink and around the faucet base/escutcheons. If you see seepage, gently tighten the fitting and retest.
For a deeper walkthrough focused on dual-control bathroom faucets, see the guide here: https://originzerostores.com/guide-chrome-brass-wall-mounted-bathroom-faucet-dual-control/.
FAQ
Do I need plumber’s putty for a bathroom faucet install?
Not always. Many faucets seal with a rubber or foam gasket; use plumber’s putty only if the manufacturer recommends it and the mounting surface allows it (some stone tops require non-staining sealants instead).
Recommended for you









Leave a comment