Wall-Mounted Smart Toilets with Automatic Features and Concealed Tanks: What to Know Before Buying
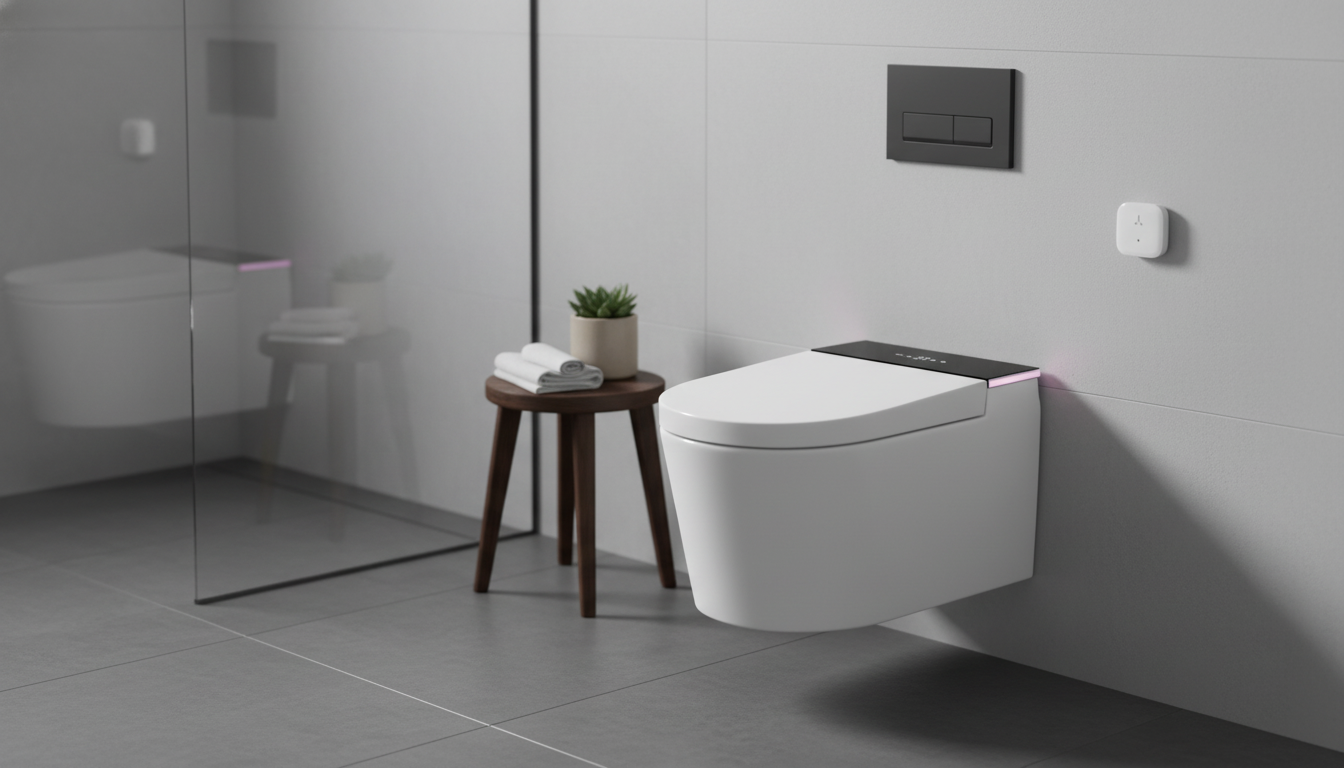
A wall-mounted smart toilet with a concealed tank combines a floating, easy-clean silhouette with hands-free comfort features. The result is a bathroom that feels more spacious and modern, with automation that improves hygiene and daily convenience. The details that matter most are behind the wall: frame strength, rough-in compatibility, service access, and electrical planning.
Why Wall-Mounted + Concealed Tank Changes the Bathroom
- Creates a floating look that visually opens smaller bathrooms and simplifies floor cleaning.
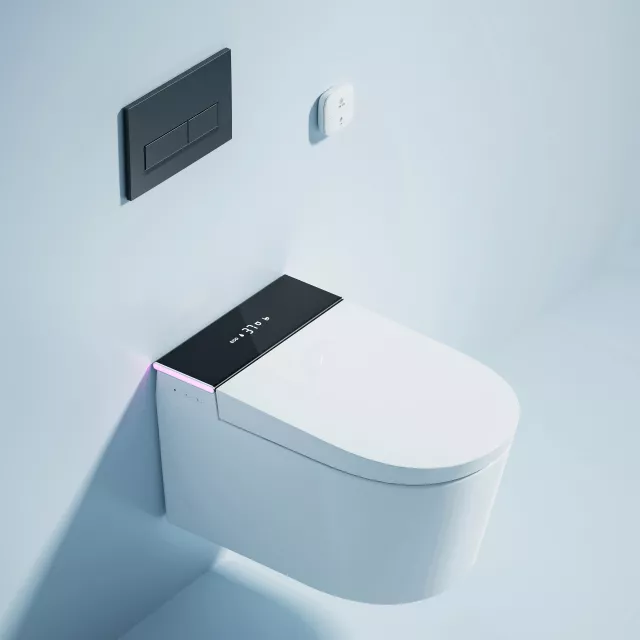
- Concealed cistern reduces visible clutter; only the bowl and flush plate are typically seen.
- Mounting height can be set during installation for comfort and accessibility goals.
- Noise can be reduced compared with exposed tanks, depending on wall construction and flush valve design.
Automatic Features That Matter Day to Day
- Hands-free lid/seat opening and closing: Look for adjustable sensor range and delay settings to prevent accidental activation.
- Automatic flushing: Confirm sensor-based flush has manual override and power-outage behavior (battery backup or manual flush option).
- Heated seat: Check temperature levels, quick warm-up behavior, and safety shutoff.
- Warm-water cleansing: Prioritize adjustable water temperature/pressure and consistent spray positioning.
- Warm-air drying and deodorization: Evaluate noise level, airflow strength, and whether filters are replaceable.
- Night light and user presets: Helpful in shared bathrooms; confirm how many profiles can be stored.
If your bathroom is used by guests or kids, pay special attention to sensor tuning and “false trigger” prevention. A smart toilet that opens every time someone walks by can feel less like luxury and more like a nuisance.
Concealed Tank and Carrier Frame: The Hidden Core
- Carrier frame rating: Choose a rated in-wall carrier designed for wall-hung toilets and confirm it meets local code requirements for load.
- Cistern compatibility: Verify the flush system matches the bowl’s required flush volume and interface.
- Service access: Ensure the flush plate area allows access to valves and wear parts without opening the wall.
- Condensation control: In humid climates, insulation around the tank can reduce sweating inside the wall cavity.
The carrier and cistern are the “chassis” of the whole setup. Smart features can be upgraded or replaced over time; a poorly chosen or poorly installed carrier can turn future repairs into wall demolition.
Installation Planning (Plumbing + Electrical + Wall Build)
- Rough-in and drain type: Confirm outlet orientation, distance to drain stack, and whether the setup is compatible with your existing plumbing.
- Wall depth: Concealed tanks and frames require sufficient cavity depth; verify stud spacing and any needed reinforcement.
- Electrical outlet: Smart toilets typically need a nearby GFCI outlet; plan placement to avoid exposed cords while remaining serviceable.
- Water supply: Confirm shutoff valve access and recommended supply line routing.
- Permits and code: Wall-hung installations can be subject to specific framing and inspection requirements.
For efficiency targets and water-use expectations, it’s also worth cross-checking flush performance and water consumption guidance from EPA WaterSense. For installation rules and inspection expectations, local jurisdictions commonly reference model codes from the International Code Council (ICC), and electrical work should align with NFPA 70 (National Electrical Code).
Comfort, Fit, and Daily Usability Checks
- Bowl shape and projection: Compare how far the bowl extends from the wall to ensure comfortable seating without crowding the aisle.
- Seat height: Set by the carrier installation; confirm target height before tile and wall finishing.
- Controls: Decide between remote, side panel, and app control; confirm essential functions remain available without a phone.
- Noise: Consider flush sound, fan noise, and motorized lid operation if the bathroom is near bedrooms.
A subtle but important check is “real-world reach.” If the remote will be wall-mounted, confirm it won’t end up behind a door swing or out of reach from the seated position. If the unit includes a side panel, confirm it won’t be pressed against a vanity or tight side wall.
How to Choose the Right Model for the Space
Quick Comparison Checklist for Wall-Mounted Smart Toilets
| Decision area |
What to verify |
Why it matters |
| Carrier frame |
Rated in-wall carrier, compatible mounting points |
Safety, stability, long-term reliability |
| Wall depth & access |
Cavity depth and flush-plate service access |
Prevents costly rework and improves maintenance |
| Electrical |
Nearby GFCI outlet and cord routing plan |
Safe power and a clean finished look |
| Auto features |
Sensor tuning, manual overrides, user presets |
Reduces false triggers and improves usability |
| Water quality care |
Filter access, descaling process, parts availability |
Keeps spray performance consistent over time |
Maintenance and Long-Term Care
Common Pitfalls to Avoid
FAQ
Can a wall-mounted smart toilet be installed in an existing bathroom?
Often yes, but it typically requires opening the wall to add an in-wall carrier and concealed tank, verifying wall depth and stud layout, and aligning the drain and water supply. You’ll also need a nearby GFCI outlet for the smart functions, and feasibility depends on access to plumbing and how much wall reconstruction you’re willing to do.
What happens if the power goes out?
Most smart features (bidet wash, seat heating, dryer, deodorizer, and sensor automation) stop until power returns. Many setups still allow a manual flush through the concealed tank mechanism or a backup strategy depending on the model, so it’s important to confirm the specific fallback behavior before buying.
How is a concealed tank serviced if something leaks or needs adjustment?
Service is typically done through the flush plate opening, which provides access to the fill valve, flush valve, and other wear parts without cutting into the wall. Proper installation is critical so the access area remains unobstructed and usable after tile and finishing work.
Recommended for you


Leave a comment